MyHeritage has an easy tool to automatically cluster your DNA matches. In this post, learn how to access and use the tool, as well as how you might be able to use the information you learn from your results.
Clustering DNA matches is a strategy that people can use to sort their genetic relatives into groups of people who are likely related to each other through the same common ancestor. There are many tools that you can use to help cluster your matches.
What I love about the MyHeritage tool for clustering matches and grouping them into clusters of people who are connected through related lines of my family tree is that the tool works automatically. Essentially, my matches are clustered in a matter of minutes.
In addition, the clustering is done using detailed chromosome data, such as locations of matching DNA segments. This means that the clusters can be more accurate than when we make clusters based solely on shared matches or matches in common.
What can you learn from the AutoClusters tool?
Since the AutoClusters tool sorts your DNA matches into groups of people who are likely related to you and each other through the same ancestor, you can use your clusters to identify common ancestors shared between the group members, and possibly discover new ancestors of your own.
Your results will look something like the image below. The colored squares represent where your matches connect with your other matches.

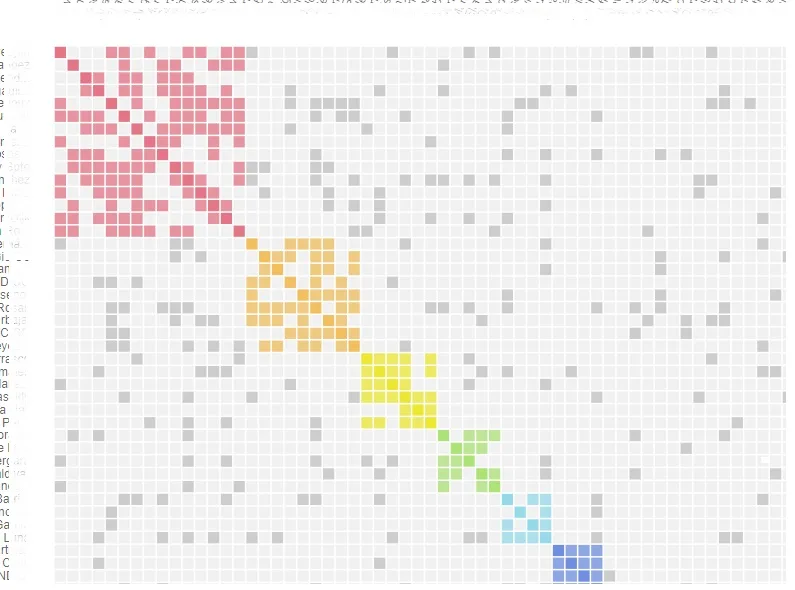
Matches belonging to the same color are likely to be related to each other and you through the same line of your family tree.
Our DNA match lists can often contain a thousand or more people, which can be overwhelming. To compound matters, some of our DNA matches do not have family trees attached to their profiles, or they only have small trees with just a few people in them.
Wouldn't it be wonderful if there was a way for us to automatically be able to estimate how our match is related to us? If we can get pointed in the right direction with our research, we can discover how our match is connected to our family and learn more about our ancestors.
This is exactly what the AutoClusters tool can do for us. This tool analyzes our matches who share at least 40 centimorgans (cMs) and less than 400 cMs, as well as at least 20 cMs with each other.
Each time I ran the test for my kits, there were about 100 matches included in the results. This means that my results sorted about 100 of the DNA matches into groups.
It is good that MyHeritage excludes matches that share less than 40 cMs and more than 400 cMs since those who share less are more likely to not really be related to us, and those who share more are too closely related to be useful in a cluster.
The AutoCluster tool is similar in concept to using custom groups to create clusters of DNA matches on other sites, such as Ancestry. Of course, the MyHeritage tool does make this easier to visualize using their tool.
Where is the AutoClusters Tool on MyHeritage DNA?
In order to use the AutoClusters tool, you must first take a DNA test with MyHeritage, or do a free raw DNA file upload to the site. MyHeritage currently accepts uploads from Ancestry DNA, 23andMe, and Family Tree DNA.
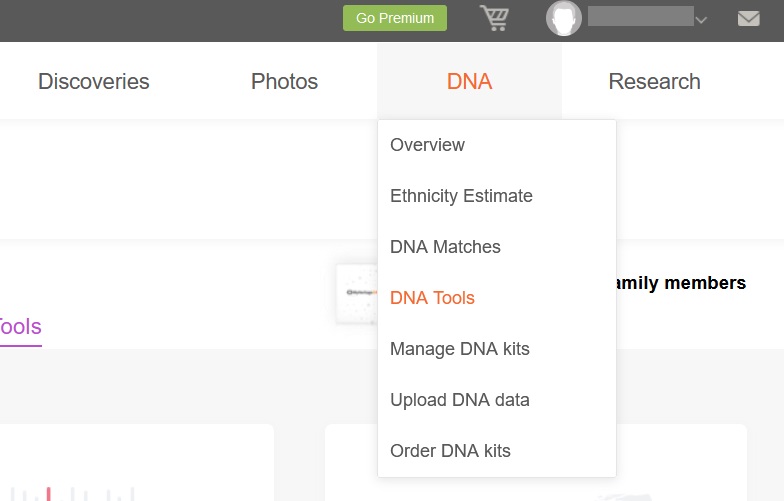
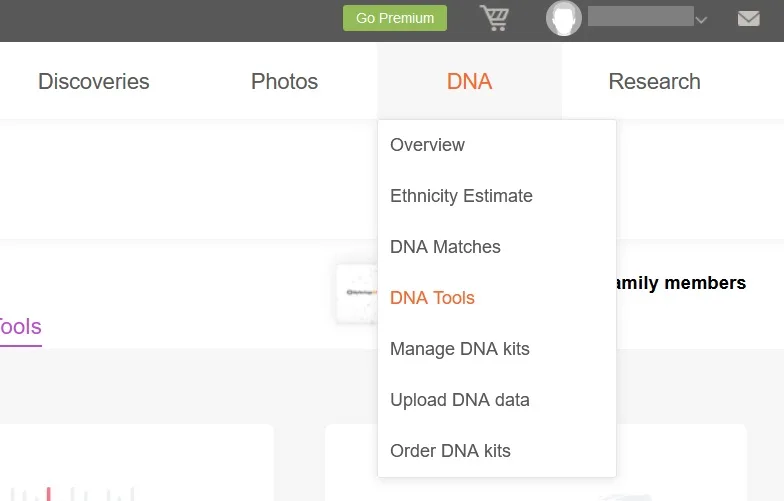
If your DNA is already on MyHeritage, then you can access the AutoClusters tool by clicking on "DNA Tools" under the DNA heading on your main dashboard. In the image below, you can see the menu that appears if you hover over the "DNA" tab on the top menu, which is where the link to DNA Tools is:
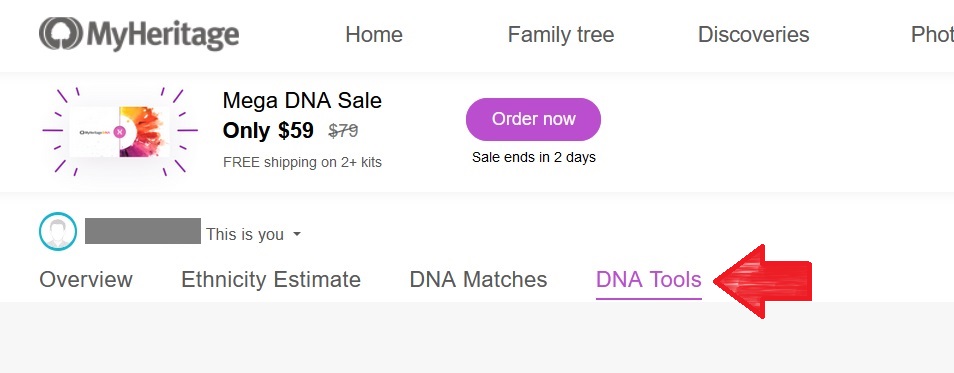
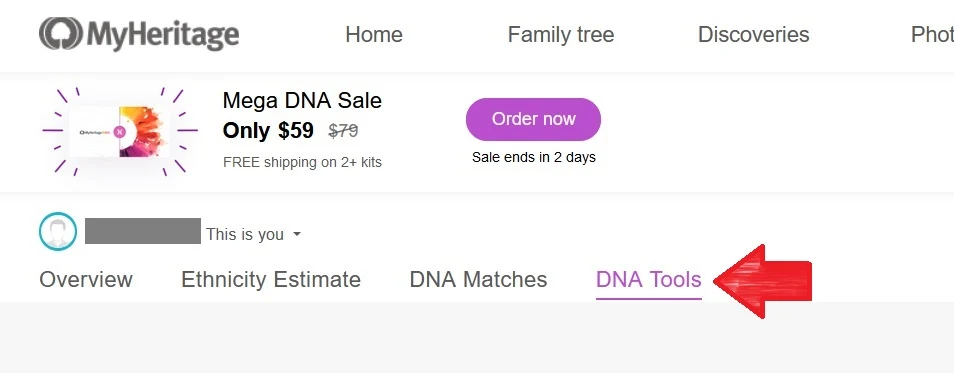
This is not the only place where you can find the link to the DNA tools. If you are more accustomed to viewing your DNA results, you can click on "DNA Tools" from your DNA results overview:
Finally, you should be at the main DNA Tools page. There are currently three tools available for DNA analysis: Chromosome Browser, AutoClusters, and the Ethnicities Map.
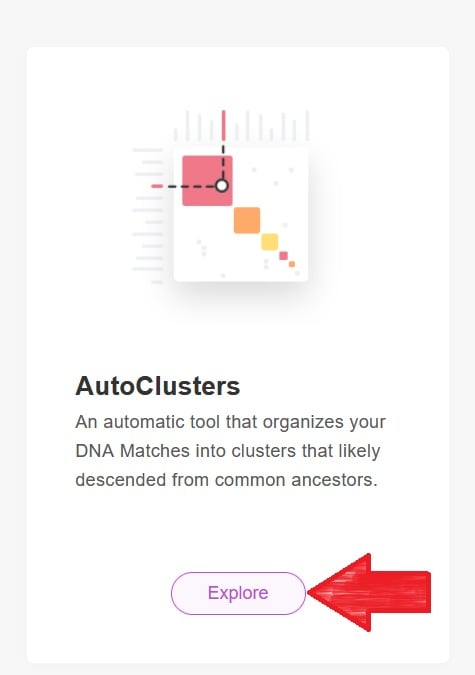
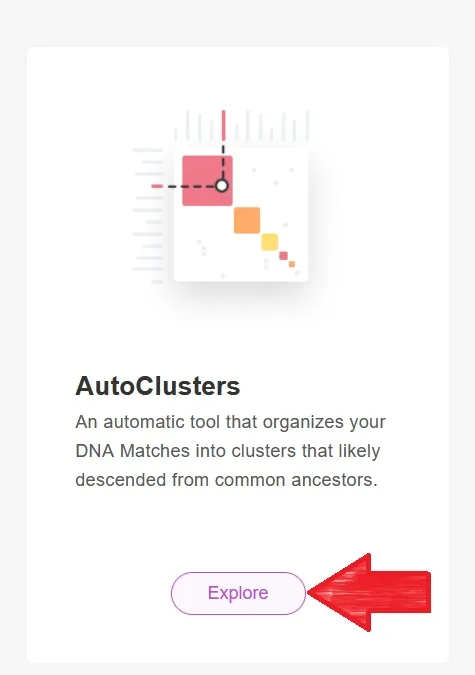
To begin using the AutoClusters tool, just click the "Explore" button, as shown in the image below:
Now you are ready to run the results. Running the tool is the easiest part of this process, so let's get started!
How to use the Autocluster tool
You can use the AutoCluster tool for any kit that is attached to your MyHeritage account. So, if you have uploaded DNA files for multiple relatives into your MyHeritage account, you will be able to use the AutoCluster tool to automatically cluster their DNA matches into groups.
You can choose your kit or any of the other kits that are associated with your MyHeritage account. Just click on the down arrow next to your name and select the name of the person whose DNA matches you would like to cluster from the drop down menu that appears:
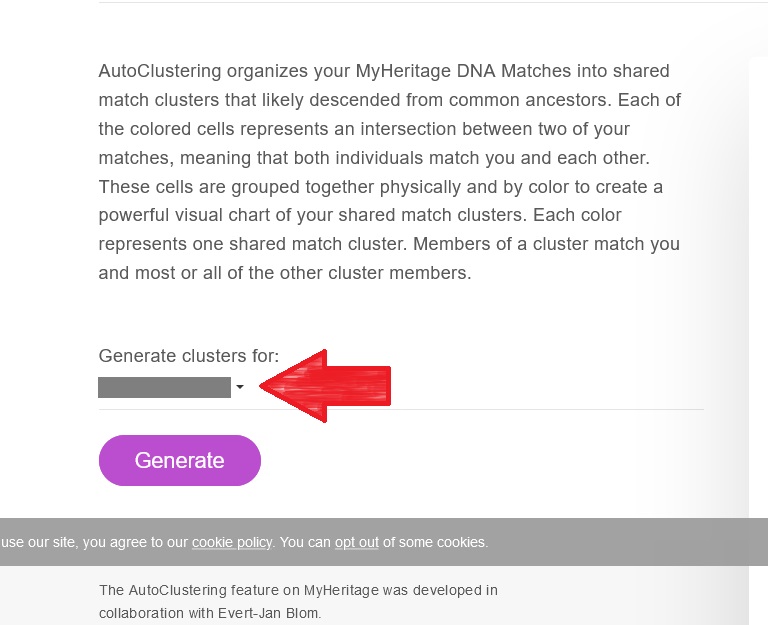
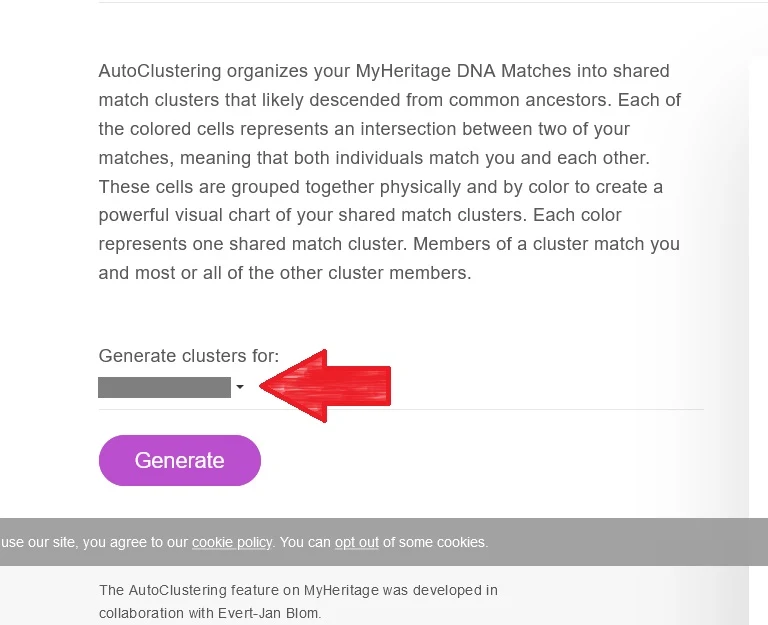
Once you have selected the DNA kit with which you would like to use the tool, just click "Generate". You will receive an e-mail with the automatically clustered DNA matches in an attached .zip file.
It took only a few minutes for me to get my e-mail with my file of clustered matches, but I have read from other people using the tool that it could take up to a few hours to receive your e-mail. If you haven't received your e-mail after a few hours, I would be sure to check your spam, promotions, or social folders in your e-mail box to make sure that it hasn't been automatically filed in your inbox as being unimportant.
The file that you will receive is in the .zip format because it contains multiple files within it. Fortunately, these are easy to open for viewing the files within.
For most people reading this article, you can easily open the .zip file by first downloading it onto your computer. Then, open your downloads folder, or the folder where your downloads are usually stored, find the .zip file, and right click using your mouse.
A new menu will appear, and you can choose "Extract All" to
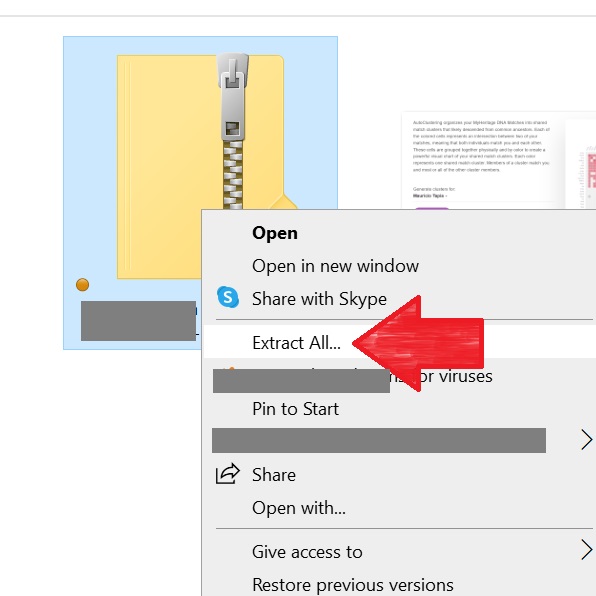

Extracting a .zip file will create a new folder in the directory where your .zip folder was contained. For example, if your .zip file was downloaded to the Downloads folder on your computer, extracting the .zip file will create a sub-folder within your Downloads folder with the name of your AutoClusters download.
In order to view the files that you downloaded, you will need to open the folder. You will see three files in your folder, as seen in the screenshot below:
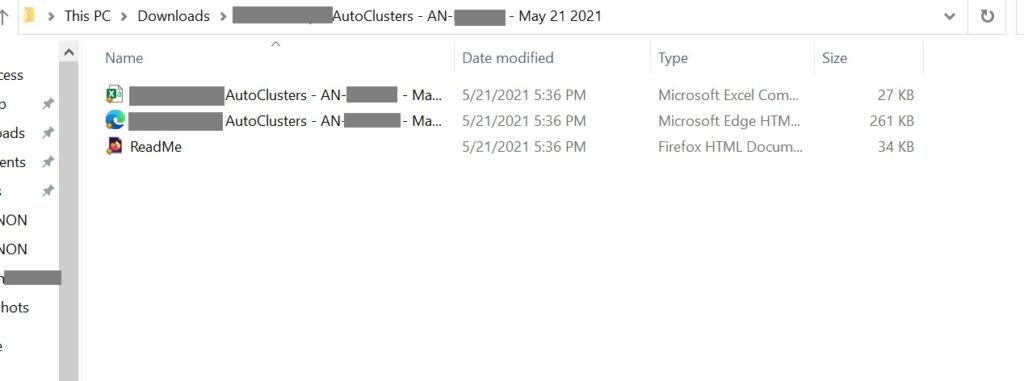
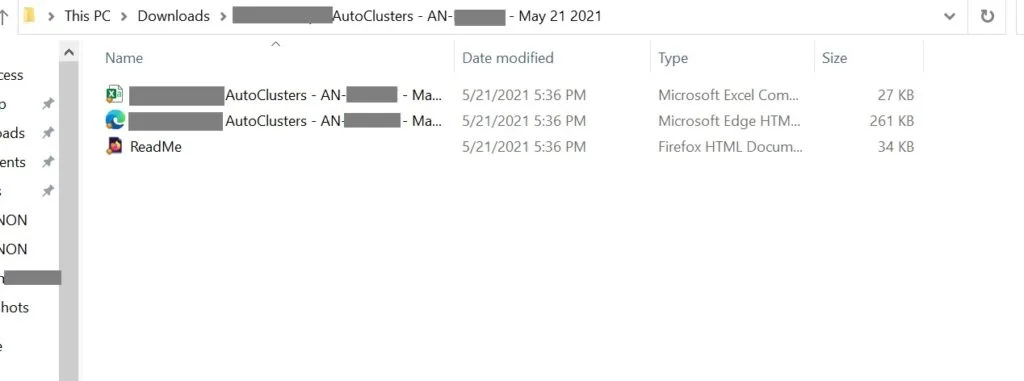
- The first file is a spreadsheet of all of the data used to compute the AutoCluster report
- The second file is a visual display of your AutoClusters report, which you can double-click on to open in your default web browser (more on this below)
- The third file, a PDF file that explains details about your report and how to understand it, can be opened in a web browser, too
The most helpful file, and the easiest to understand one is the second one on the list. This is the visual display of your AutoClusters results, which is essentially your DNA matches sorted into groups of colors based on their likely connection to each other (and to you, of course).
Conclusion
I hope that this post has helped you understand exactly why you might find the MyHeritage AutoClusters tool useful, and how to access and use the tool.
If you have any questions about something that you read in this post, or if you have spotted a way that you might be able to use this tool for your research, I would love to hear from you in the discussion below.
Thanks for stopping by today!