Do you want to learn how to upload your DNA file to Living DNA? By uploading to Living DNA, you can get more DNA matches. In this post, I'll show you how to upload your DNA to the site so that way you can get access to all of the information Living DNA has to provide you.
Links to upload your DNA to Living DNA
Currently, there are two different ways to upload your DNA to Living DNA. Each method is different, so you have to make sure that you choose the one that works best for the type of information that you want to learn.
Preferred method: Upload your DNA through the Find My Past / Living DNA Partnership - click HERE
Benefits of this method for uploading your DNA are that if you do so before October 1, 2018, you will get free access to DNA matches and an ancestry report. After October 1, 2018, you will only receive DNA matches along with your upload. It's possible that at some point in the future, an ethnicity breakdown could be obtained for a fee.
Secondary method: Upload your DNA to Living DNA via the One Great Family World Project - click HERE
The One Great Family World Project is a research project begun by Living DNA, and if you choose to upload via this project, you will only get access to DNA matches. There may be an option in the future to upgrade your results for a fee to access your ancestry/ethnicity report.
Is there an advantage to doing a new DNA test with Living DNA instead of uploading?
There are some important advantages to doing a completely new DNA test with Living DNA instead of just uploading your raw data from another company. Apart from the DNA matches and a detailed ancestry report, you also receive two really cool reports that don't come with any other autosomal DNA test on the market right now:
- A report tracing your motherline (mtDNA) ancestry tens of thousands of years back through history
- For males only: A report tracing your fatherline (Y DNA) back in time - also tens of thousands of years back, much further than the autosomal DNA can reach. Females can't get a fatherline result because we don't have Y DNA
Living DNA can't give you the motherline and fatherline information from the DNA results from other testing companies because that information is not included in the raw data files.
One other important item to note is that because each testing company uses slightly different technology and doesn't test all of the same SNPs, the information contained within your DNA file from a different company won't have all of the same data points to compare with other people who did test with that company. This means that testing your DNA directly with Living DNA could ensure that more accuracy is achieved, which is especially important when dealing with DNA matches and searching for nuances within ethnicity estimates.
If you think that you would prefer to get a DNA test from Living DNA instead of uploading, you can use the following link (I get a small commission for referring the sale, and I thank you because it helps me support this site): Living DNA Ancestry Test
If you don't want to or can't get a new test, don't worry. Your results will still be very useful for you, and you can continue reading in order to learn exactly how to proceed with your upload.
How to upload to Living DNA
Since I currently recommend using the Find My Past / Living DNA Partnership method for uploading your DNA to Living DNA, I will give explanations for this process in these instructions.
Step One
Follow this link to go to the Living DNA upload page
Step Two
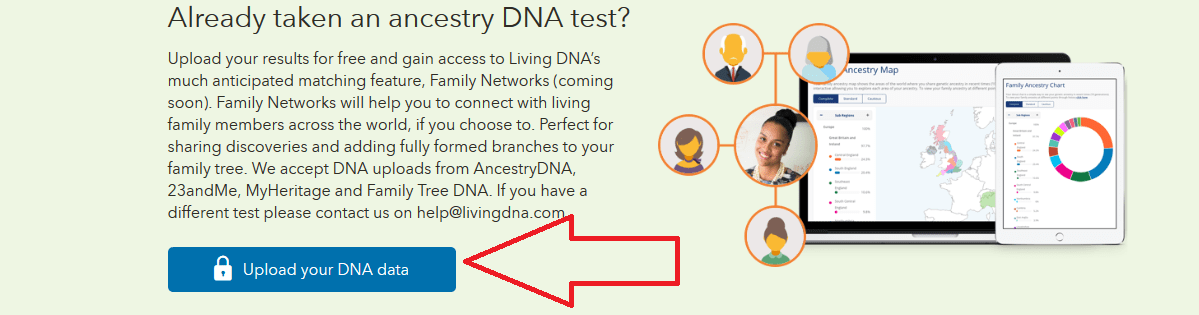
Scroll a little more than halfway down the page until you see where it says, "Already taken an ancestry DNA test?". Click the blue "Upload Your DNA Data Button" as shown in the image below:

Step Three
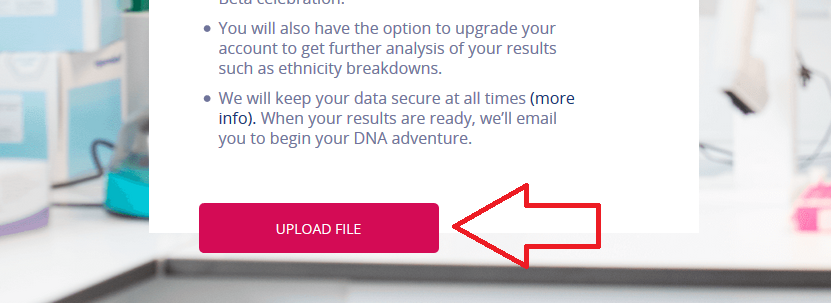
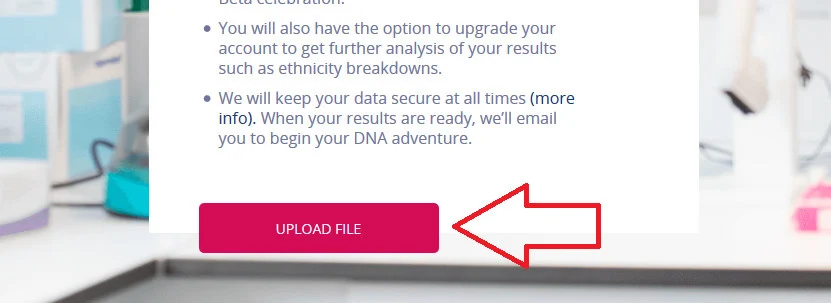
Click the pink "Upload File" button, as shown in the image below:
Step Four
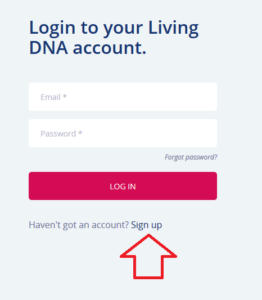
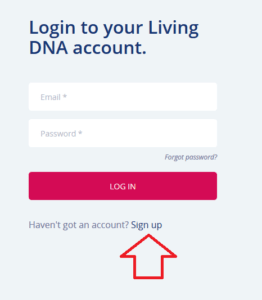
If you already have a Living DNA account, you can log in with your account information during this step. Otherwise, click the blue "Sign up" link to get started setting up your account. The image below shows where to find the link to sign up for a Living DNA account.
Step Five (skip this step if you logged in with your existing Living DNA account)
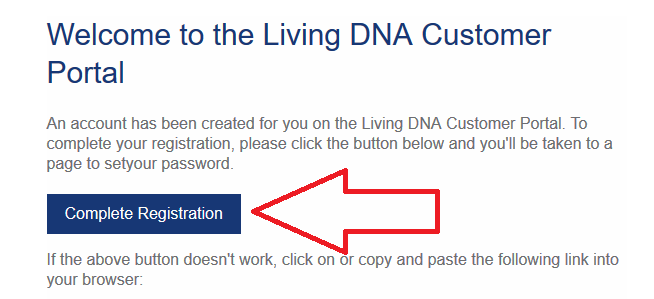
Enter in the required information to set up your new account. You will then be notified that an e-mail has been sent. Go to your e-mail and click the "Complete Registration" button contained within the e-mail to verify your Living DNA account, as shown in the image below:

If completion of registration is successful, you will then be taken to a new page that says "Verification Complete". Click the link to go to the sign in page, and sign in with the login information that you provided during account registration.
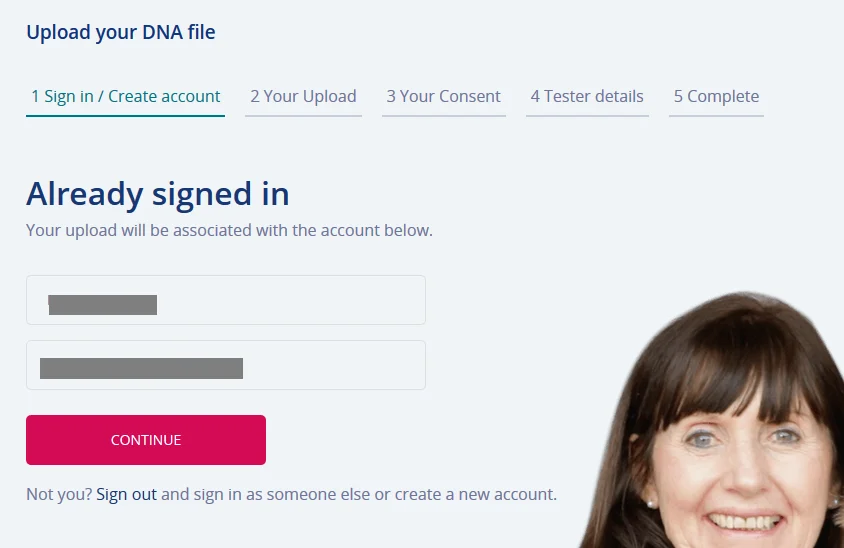
Step Six
Check to make sure that your name and e-mail address and correct in the fields on the screen (it should look like the image below). If everything looks good, press "continue" so it will walk you through the final steps. You are almost done!

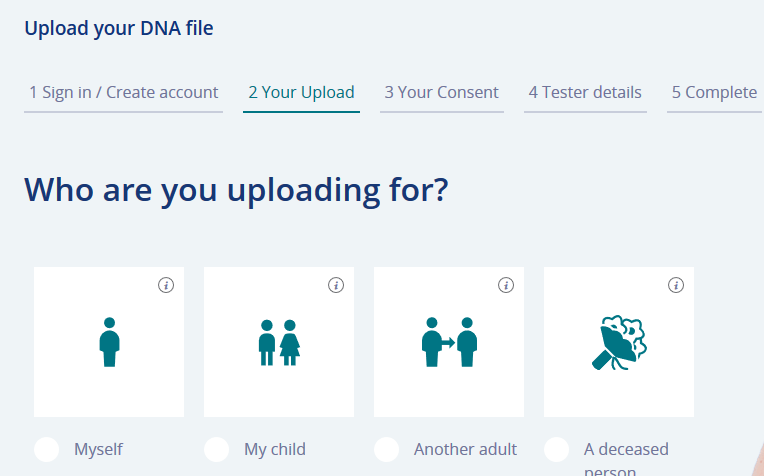
Step Seven
For this step, you must choose the person for whom you are uploading the DNA file. If you choose "another adult" it will prompt you to enter their e-mail address so that they can give their own consent for the upload:

Step Eight
The next steps are all very self-explanatory. You will be prompted to enter in the information of the test taker.
A few notes on these last steps:
- Enter the date in this format using numbers: day/month/year. If you do it using the format we use here in the US, it won't work 😉
- This is key: Make sure that your DNA file is in a .txt or .csv format. If you tested with Ancestry DNA, your file is in a .zip format and it won't be accepted. You'll have to extract your DNA file (right click the .zip file). Contained within the extracted file will be a file called "AncestryDNA" and it will be a text file. This is the file that you need to upload to Living DNA.
Once you've entered in the details about the text taker, you will have to agree to a few consents and read few short paragraphs. Then, your DNA upload will be done.
Conclusion
I hope that this post helped you understand the different ways to upload to Living DNA, whether or not there is any difference between testing directly with Living DNA and uploading to the site, and how to go about completing the process. If you have any questions about some aspect of this post, or would like to share your experience uploading to Living DNA, I would love to hear from you in the comments.
Thanks for stopping by!